In this post, I am going to show you how I monitor a shared mailbox while working from home.
Why did I need this?
If I am going to be honest, there are a couple of reasons why I need this.
- I have not made a post in a while
- It is a great introduction into Power Automate and Teams
- There have been a couple of e-mails to my shared mailbox that have sat longer than I would have liked because I did not know they were there
The Goal
My objective is simple. When a new e-mail message arrives in my shared mailbox then notify me in Microsoft Teams.
You: Why don’t you just do …
See #2 above. I actually thought is this really necessary before I started down this path. To my surprise, it actually is not really a bad idea. Take a look at some of the other options to accomplish shared mailbox notifications at https://www.msoutlook.info/question/new-mail-alert-for-delegate-or-shared-mailboxes.
Power Automate
Microsoft Power Automate is a part of the Power Platform.
Take care of what’s important. Automate the rest.
Microsoft
Create automated workflows with Microsoft Power Automate.
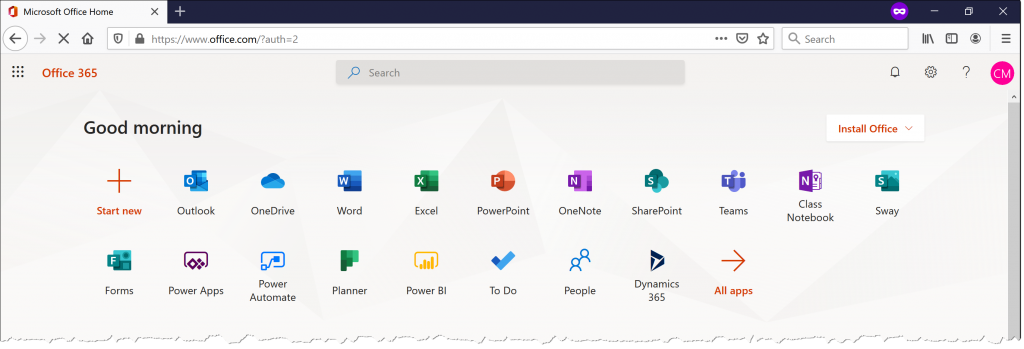
I access Power Automate by navigating to https://www.office.com/.
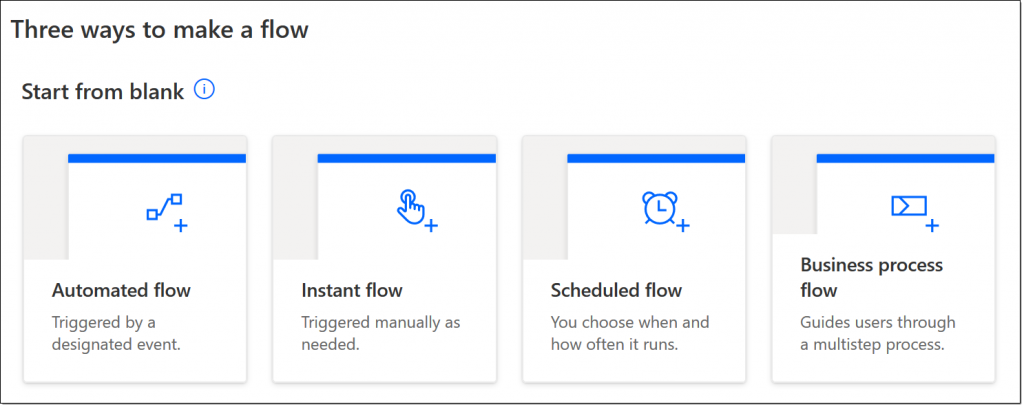
For our purposes we will be using Automated flow. Review the other connector triggers at https://docs.microsoft.com/en-us/connectors/office365/#triggers.
Has anyone noticed that ‘Flow’ is referenced everywhere? Power Automate used to be called Flow.
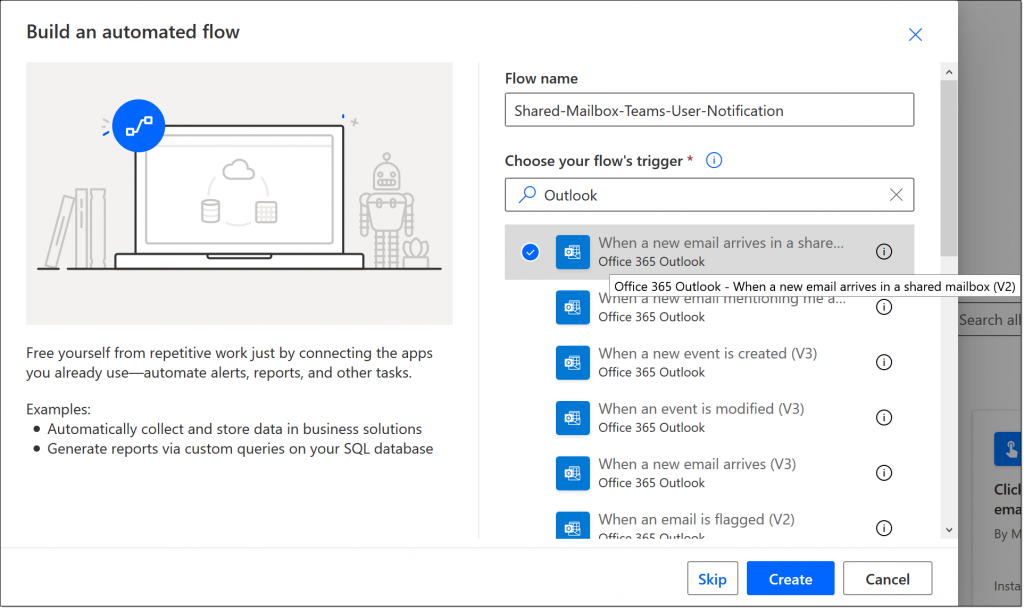
Give your flow a name and choose a trigger. For our purposes we will be using When a new email arrives in a shared mailbox (V2).
Trigger Step
Begin creating your flow by adding details to the trigger event.
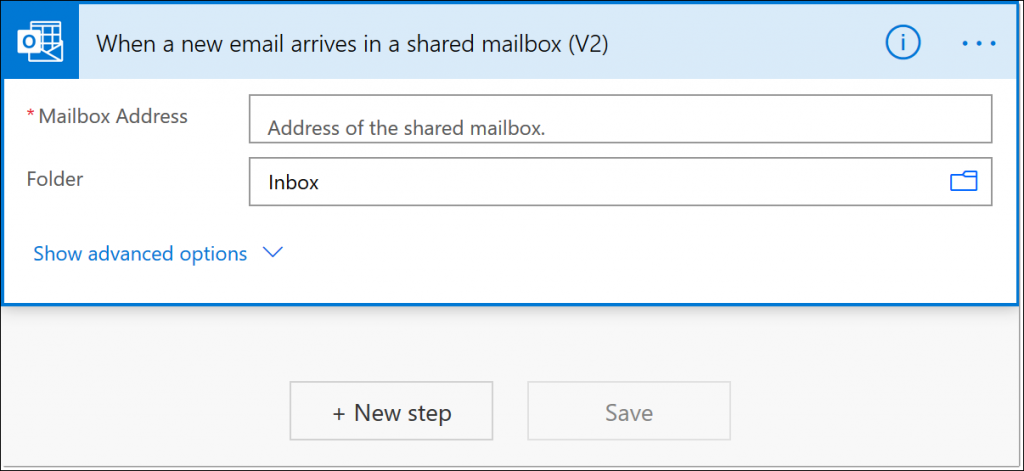
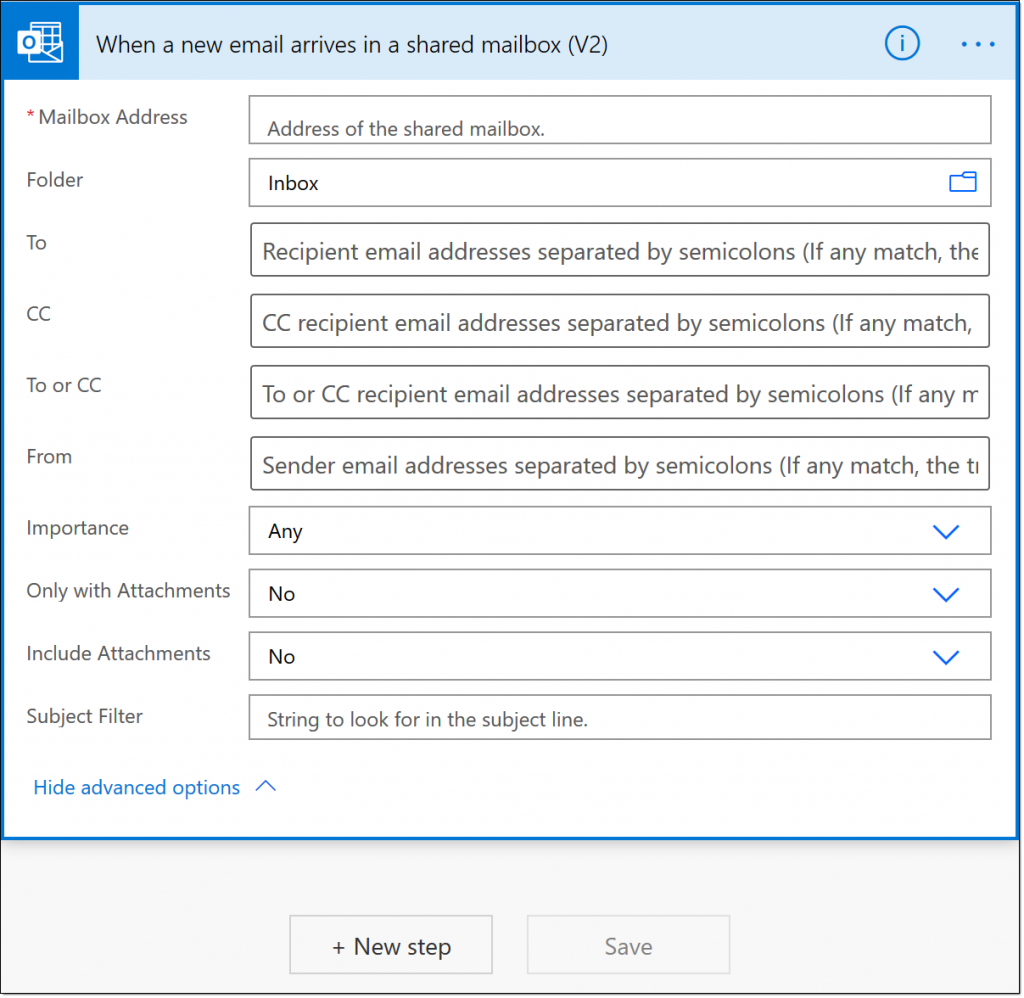
You will notice the only required field is the mailbox address. I entered the e-mail address of my shared mailbox and that is it.
+ New Step
At this point we need to identify what happens after the trigger. I have decided I want a notification in Teams however, it could have been something else. Microsoft Teams happens to be listed front and center for me.
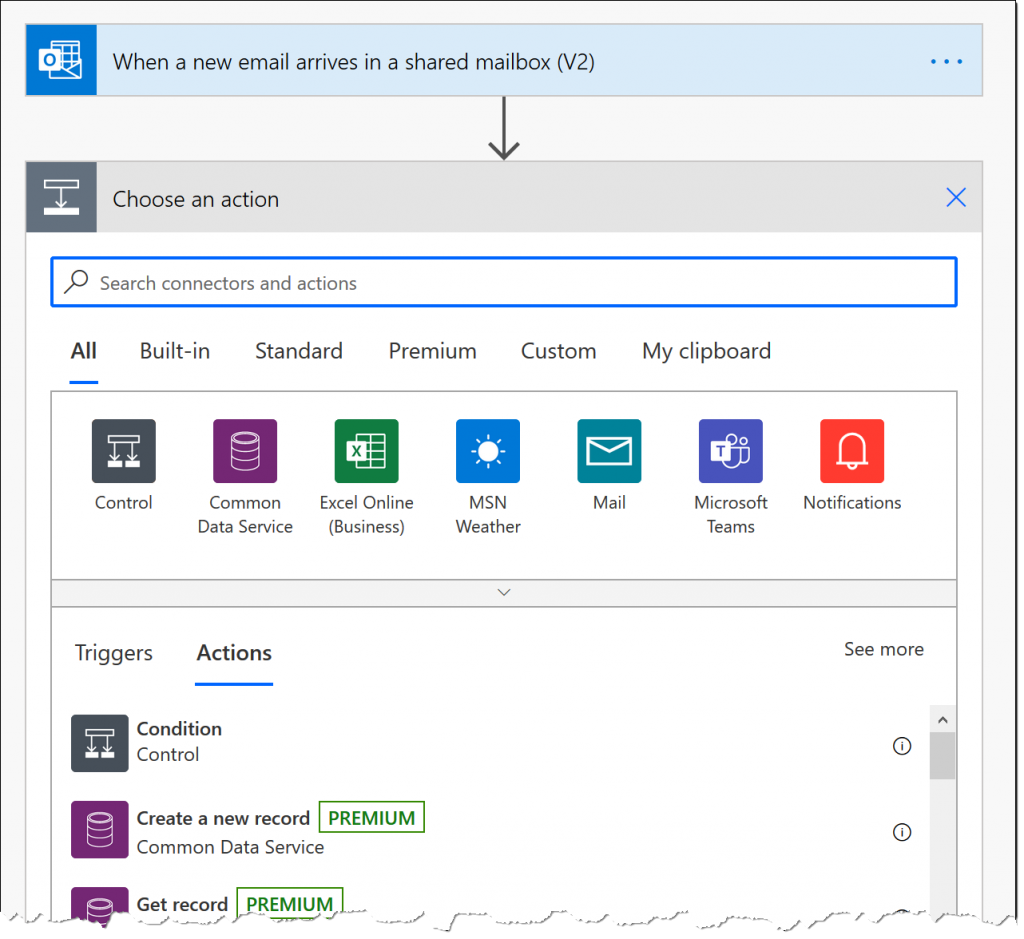
Use the Search bar if your action category is not visible.
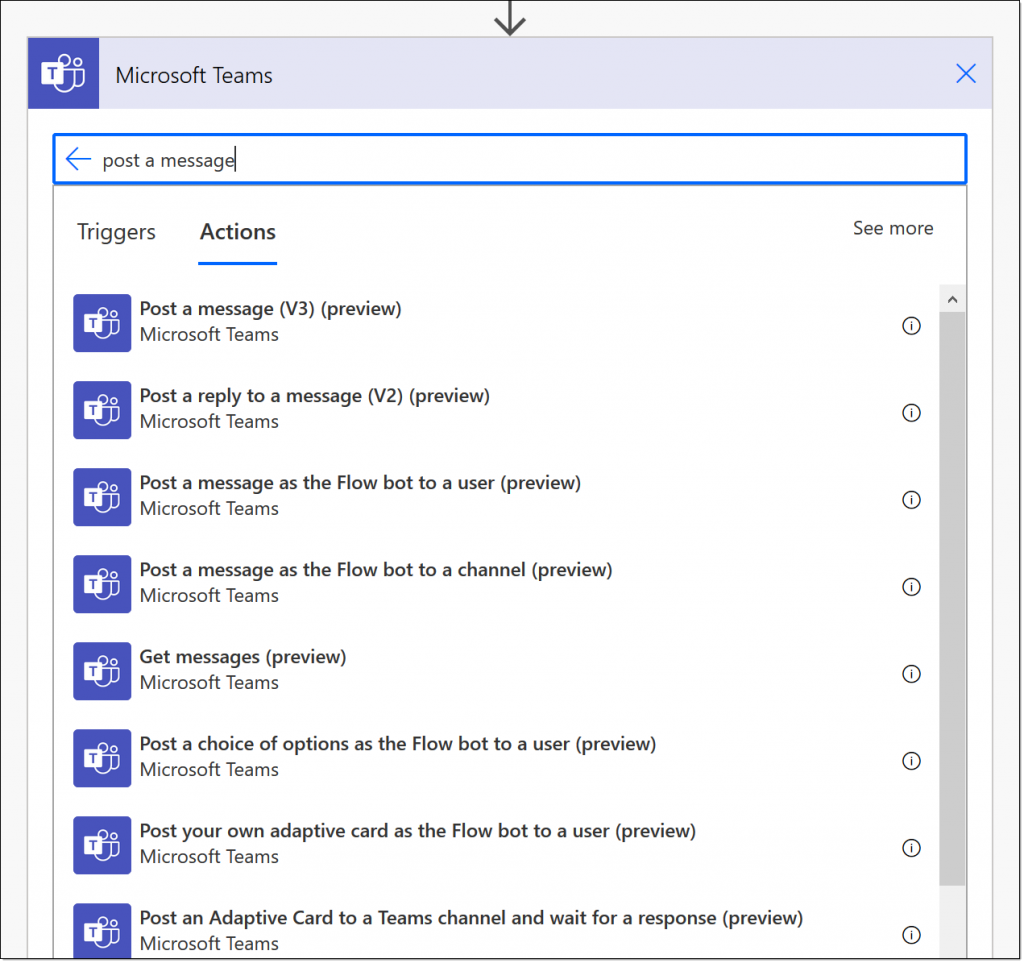
There are quite a few options to connect to Microsoft Teams. For our purposes, we will use Post a message as the Flow bot to a user.
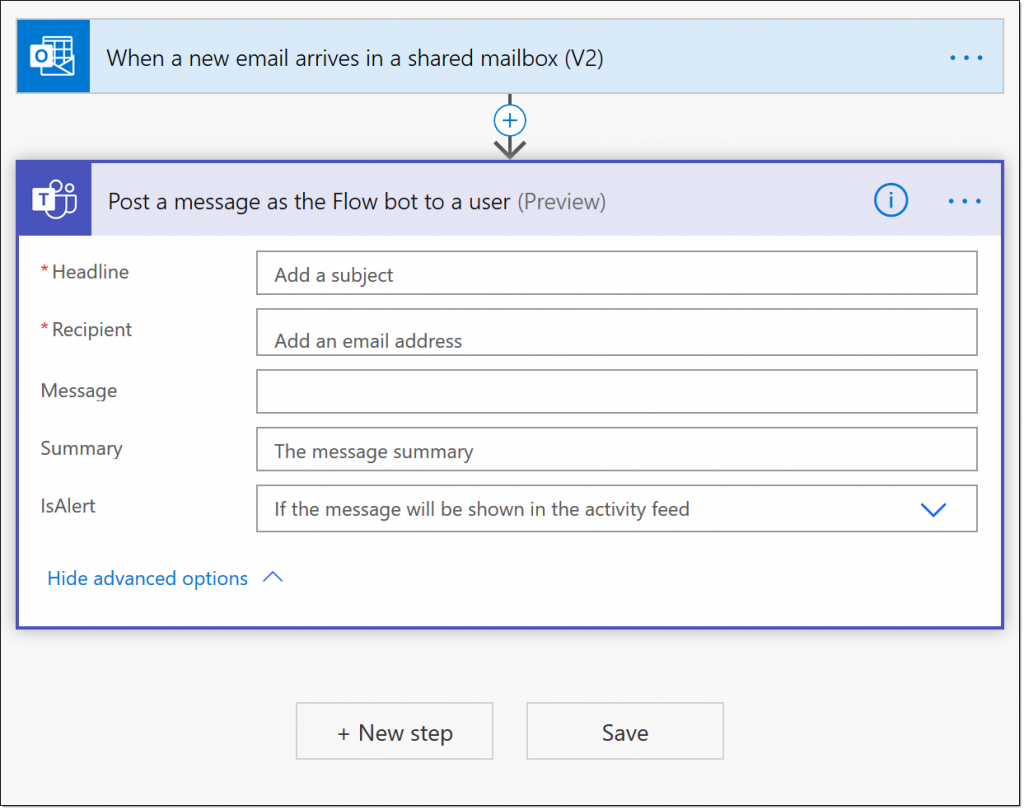
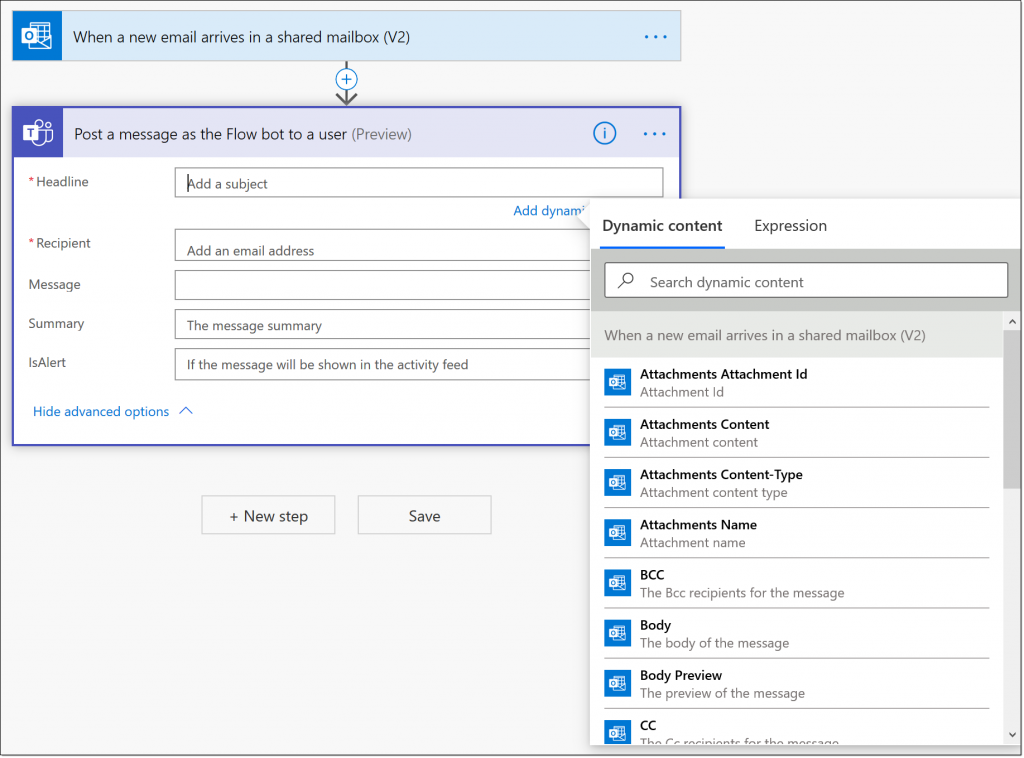
Adding Dynamic Content
The real power in this is being able to use dynamic content from the previous steps. I will make a complaint however. The fly-out sometimes gets in the way or is not visible and it does get annoying.
In general, the descriptions of the fields are easily understandable. Refer to the documentation at https://docs.microsoft.com/en-us/connectors/office365/ if needed.
Inserting the fields is pretty straightforward. Place the cursor and select the field.
Learn about formatting syntax at https://docs.microsoft.com/en-us/microsoftteams/platform/task-modules-and-cards/cards/cards-format?tabs=adaptive-md%2Cconnector-html.
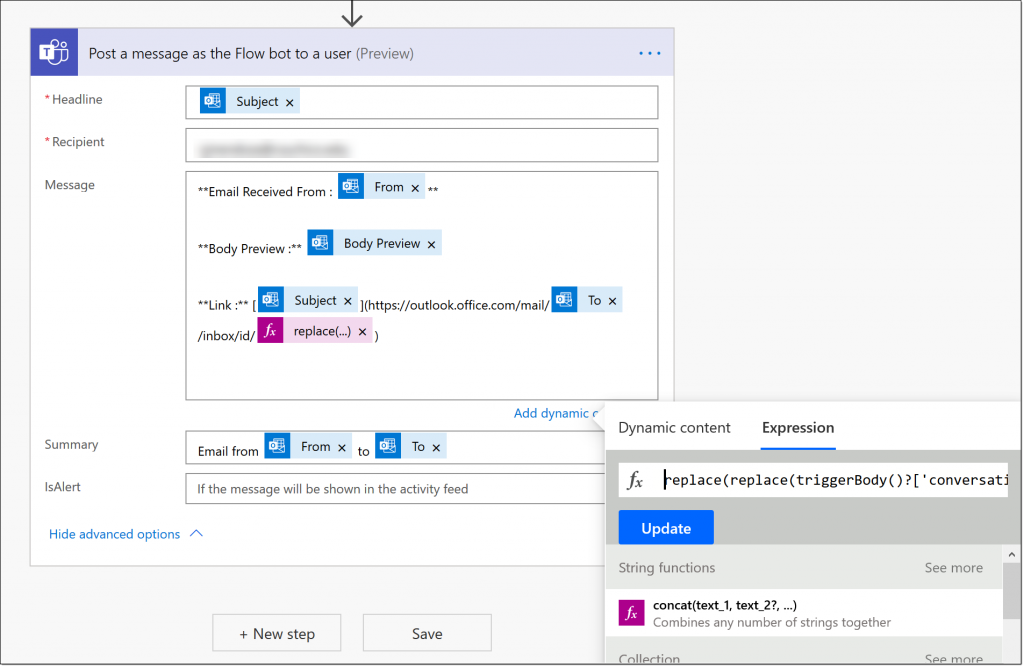
Using Expressions
I wanted to include this section because adding a click-able link within my notification just seemed to make sense to really finish out the project. Think about it. I am going to get a notification in Teams. I do not want to have to switch programs to Outlook then select the mailbox then select the e-mail.
Yes, it is true that I will have to open another program to actually view the e-mail but, I will not have to switch programs manually.
Leveraging [‘conversationId’]
If you look at the URL of an email message in O365 Outlook you’ll see something like:
https://outlook.office.com/mail/sharedbox@mail.com/inbox/id/randomLettersNumbersSymbols
Our trigger event returns many items, but what we are interested in is a string called ‘conversationId’.
It took me a little bit to realize that the returned string needed to be slightly modified in order to open the exact email. However, once I did, I used an expression to find these values and replace them with their URL values.
replace(replace(triggerBody()?['conversationId'],'-','%2F'),'=','%3D')
The Results
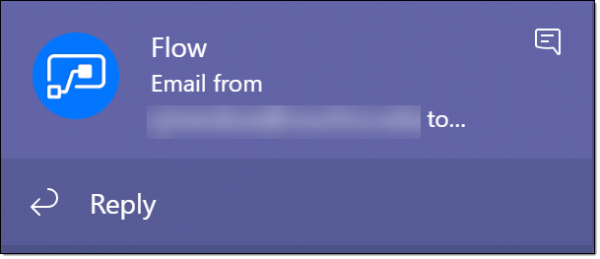
Notification fly-out 
Taskbar notification 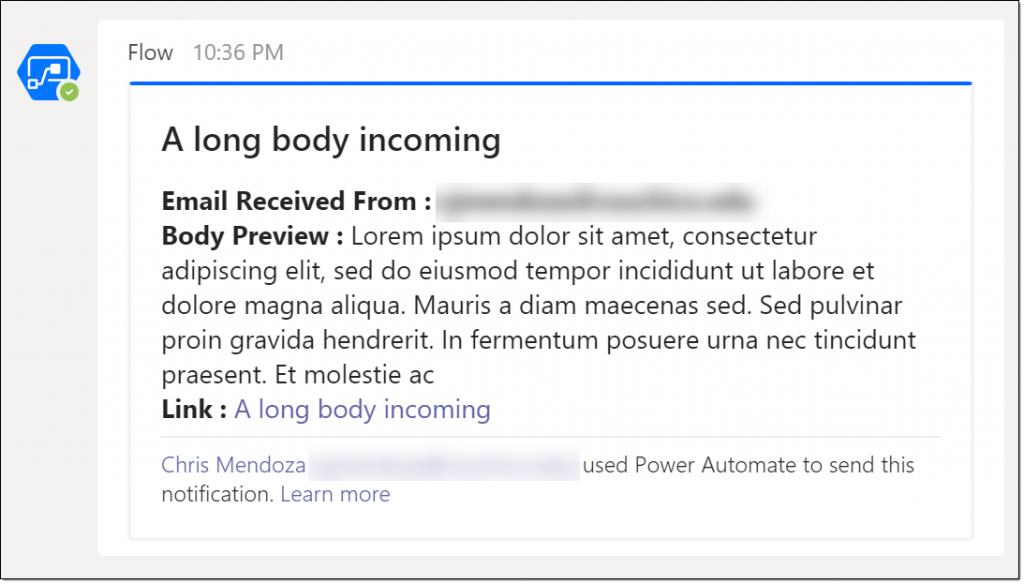
Flow bot card message 
E-mail from link
This is great! Do you need to be a member of the shared mailbox? I’m getting an error “The specified object was not found in the store., The process failed to get the correct properties.”. I have users that wants me to create it for them but I’m not part of the shared mailbox.
You can add yourself to the group however, I suggest you export and have the user import into their profile.
nice solution… one thing I added to my implementation was setting a “Send to Teams” and “resolved” category to enable multiple users to help answer… I use something like this solution for appointment category automation. https://iiu.dk/2022/03/16/outlook-meeting-category-automation/